WRITE THE VISION

There was a point where I was getting tired of my sticky note goal process. Every goal I had, I would write it down and stick it somewhere on my calendar. They would either get lost or fall off, so I got to a point where I was so over it, and was in need of a different process. So, a few years ago I decided to become apart of the vision board club. I thought how great it is to put all of my goals in one place and have a check in every so often just to see where I am at with achieving my goals. I also loooooove the creative process when I design my board. I never want it to look like a board with just cut outs from a magazine, but to personalize, and make it my very own, a full representation of me. Whether a beginner, or from the old school diy crew, I hope that this tutorial inspires you to think outside of the box as you make your vision board. :)
Habakkuk 2:2 And the Lord answered me, and said, “Write the vision, and make it plain upon tables, that he may run that readeth it.
3: For the vision is yet for an appointed time , but at the end it shall speak, and not lie; though it tarry, wait for it, because it will surely come, it will not tarry.
Before you begin, arrange the materials on your board to your liking. Remember, there is NO correct way of making your vision board, IT should be a representation of you!!!

To make your vision board, you will need a few items:
Poster board. I prefer a foam board for the extra support.
Glue. Liquid or stick, whatever works for you :).
Stickers. I loooooove stickers! You can use letter stickers, unicorn stickers, or rainbow stickers, whatever makes you HAPPY!!! :)
Patterned paper. Why not!!! For this project I used 12X12 pattern paper I found on clearance at ACMOORE, and use my old school (Yup, I said it) Cricut for my cutouts.
Magazines. Make sure you do NOT chop, chop away at your magazine. You want to make sure that your board represents you, and not be a board that we normally see with a bunch of cut our words.

STEP ONE
Before you begin, come up with categories that you want to work on. For example, you can have categories of personal, financial, career, family, and spiritual goals. Whatever area(s) of your life you want to work on jot it down.

STEP TWO
Now that you have completed your categories, now it’s time to write down what in particular you want to work on within each category. For example, under a personal category you may want to take a trip to another state, eat healthy, take a knitting class, or organize your closet. Whatever your goal write them down.
let’s begin!
Now that you have created the foundation of your vision board, you can begin to decorate and add other elements to complete. Remember, there is NO correct way of arranging your board. I’ve said it before, and I’ll say it again, “This board is YOUR vision, and is a representation of YOU.” So just have fun with it…
SIDE NOTE: The idea I had for my board was to add every goal individually, and as I complete them I will remove them one by one.
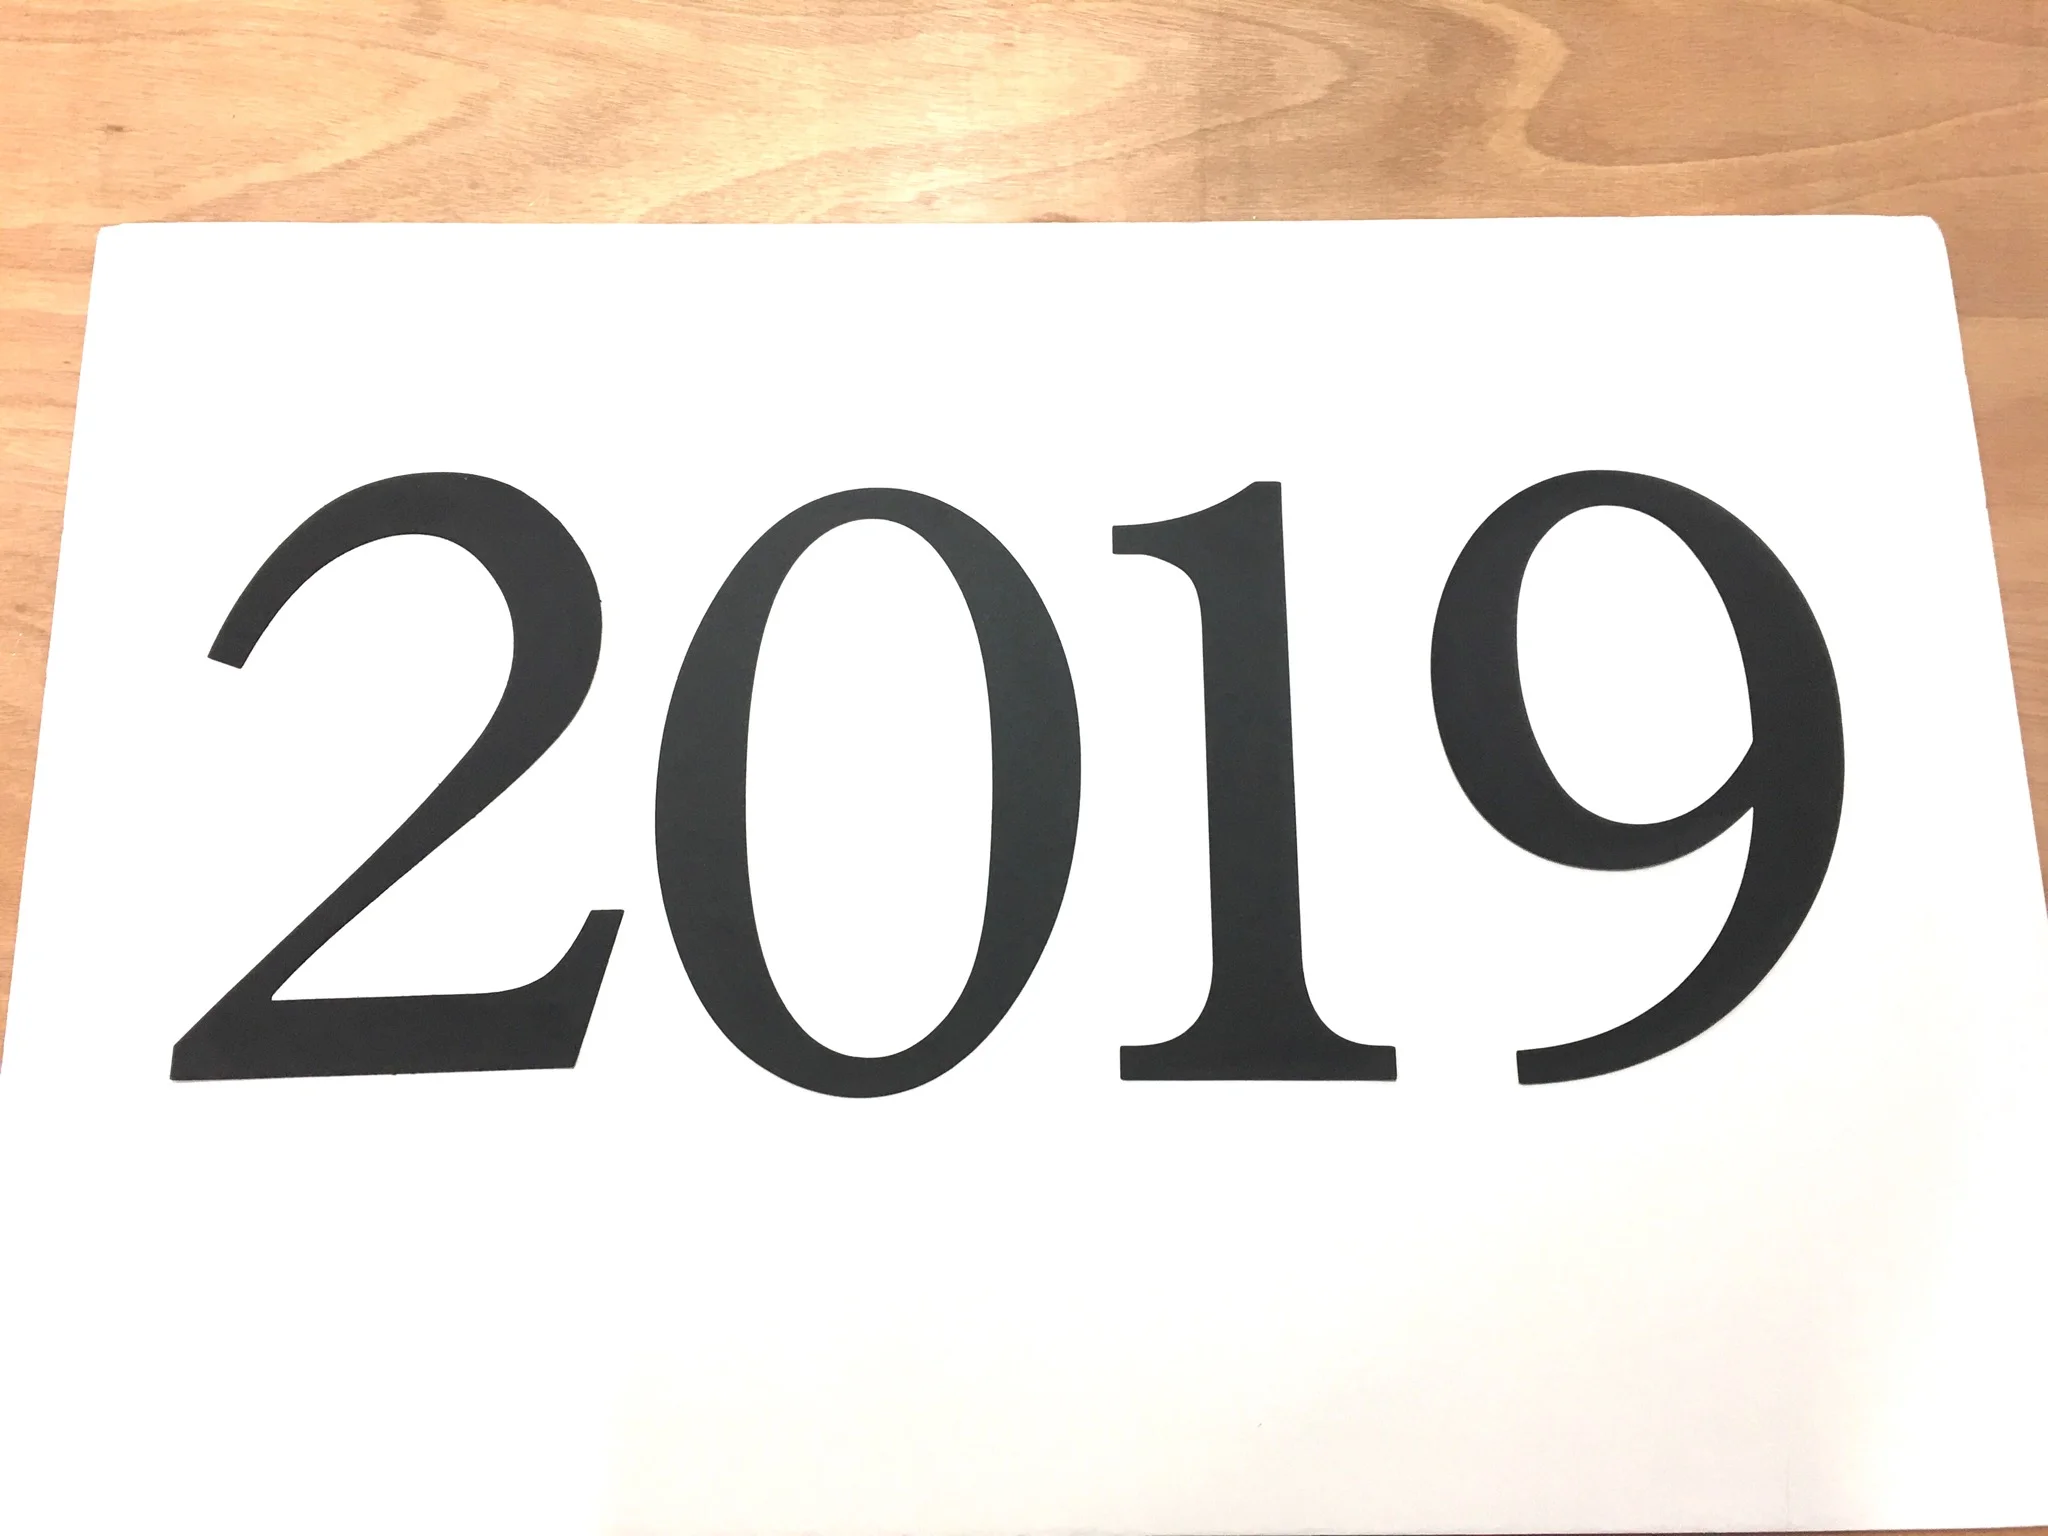
I used my cricut to cut out 2019 and i placed it on my board first.
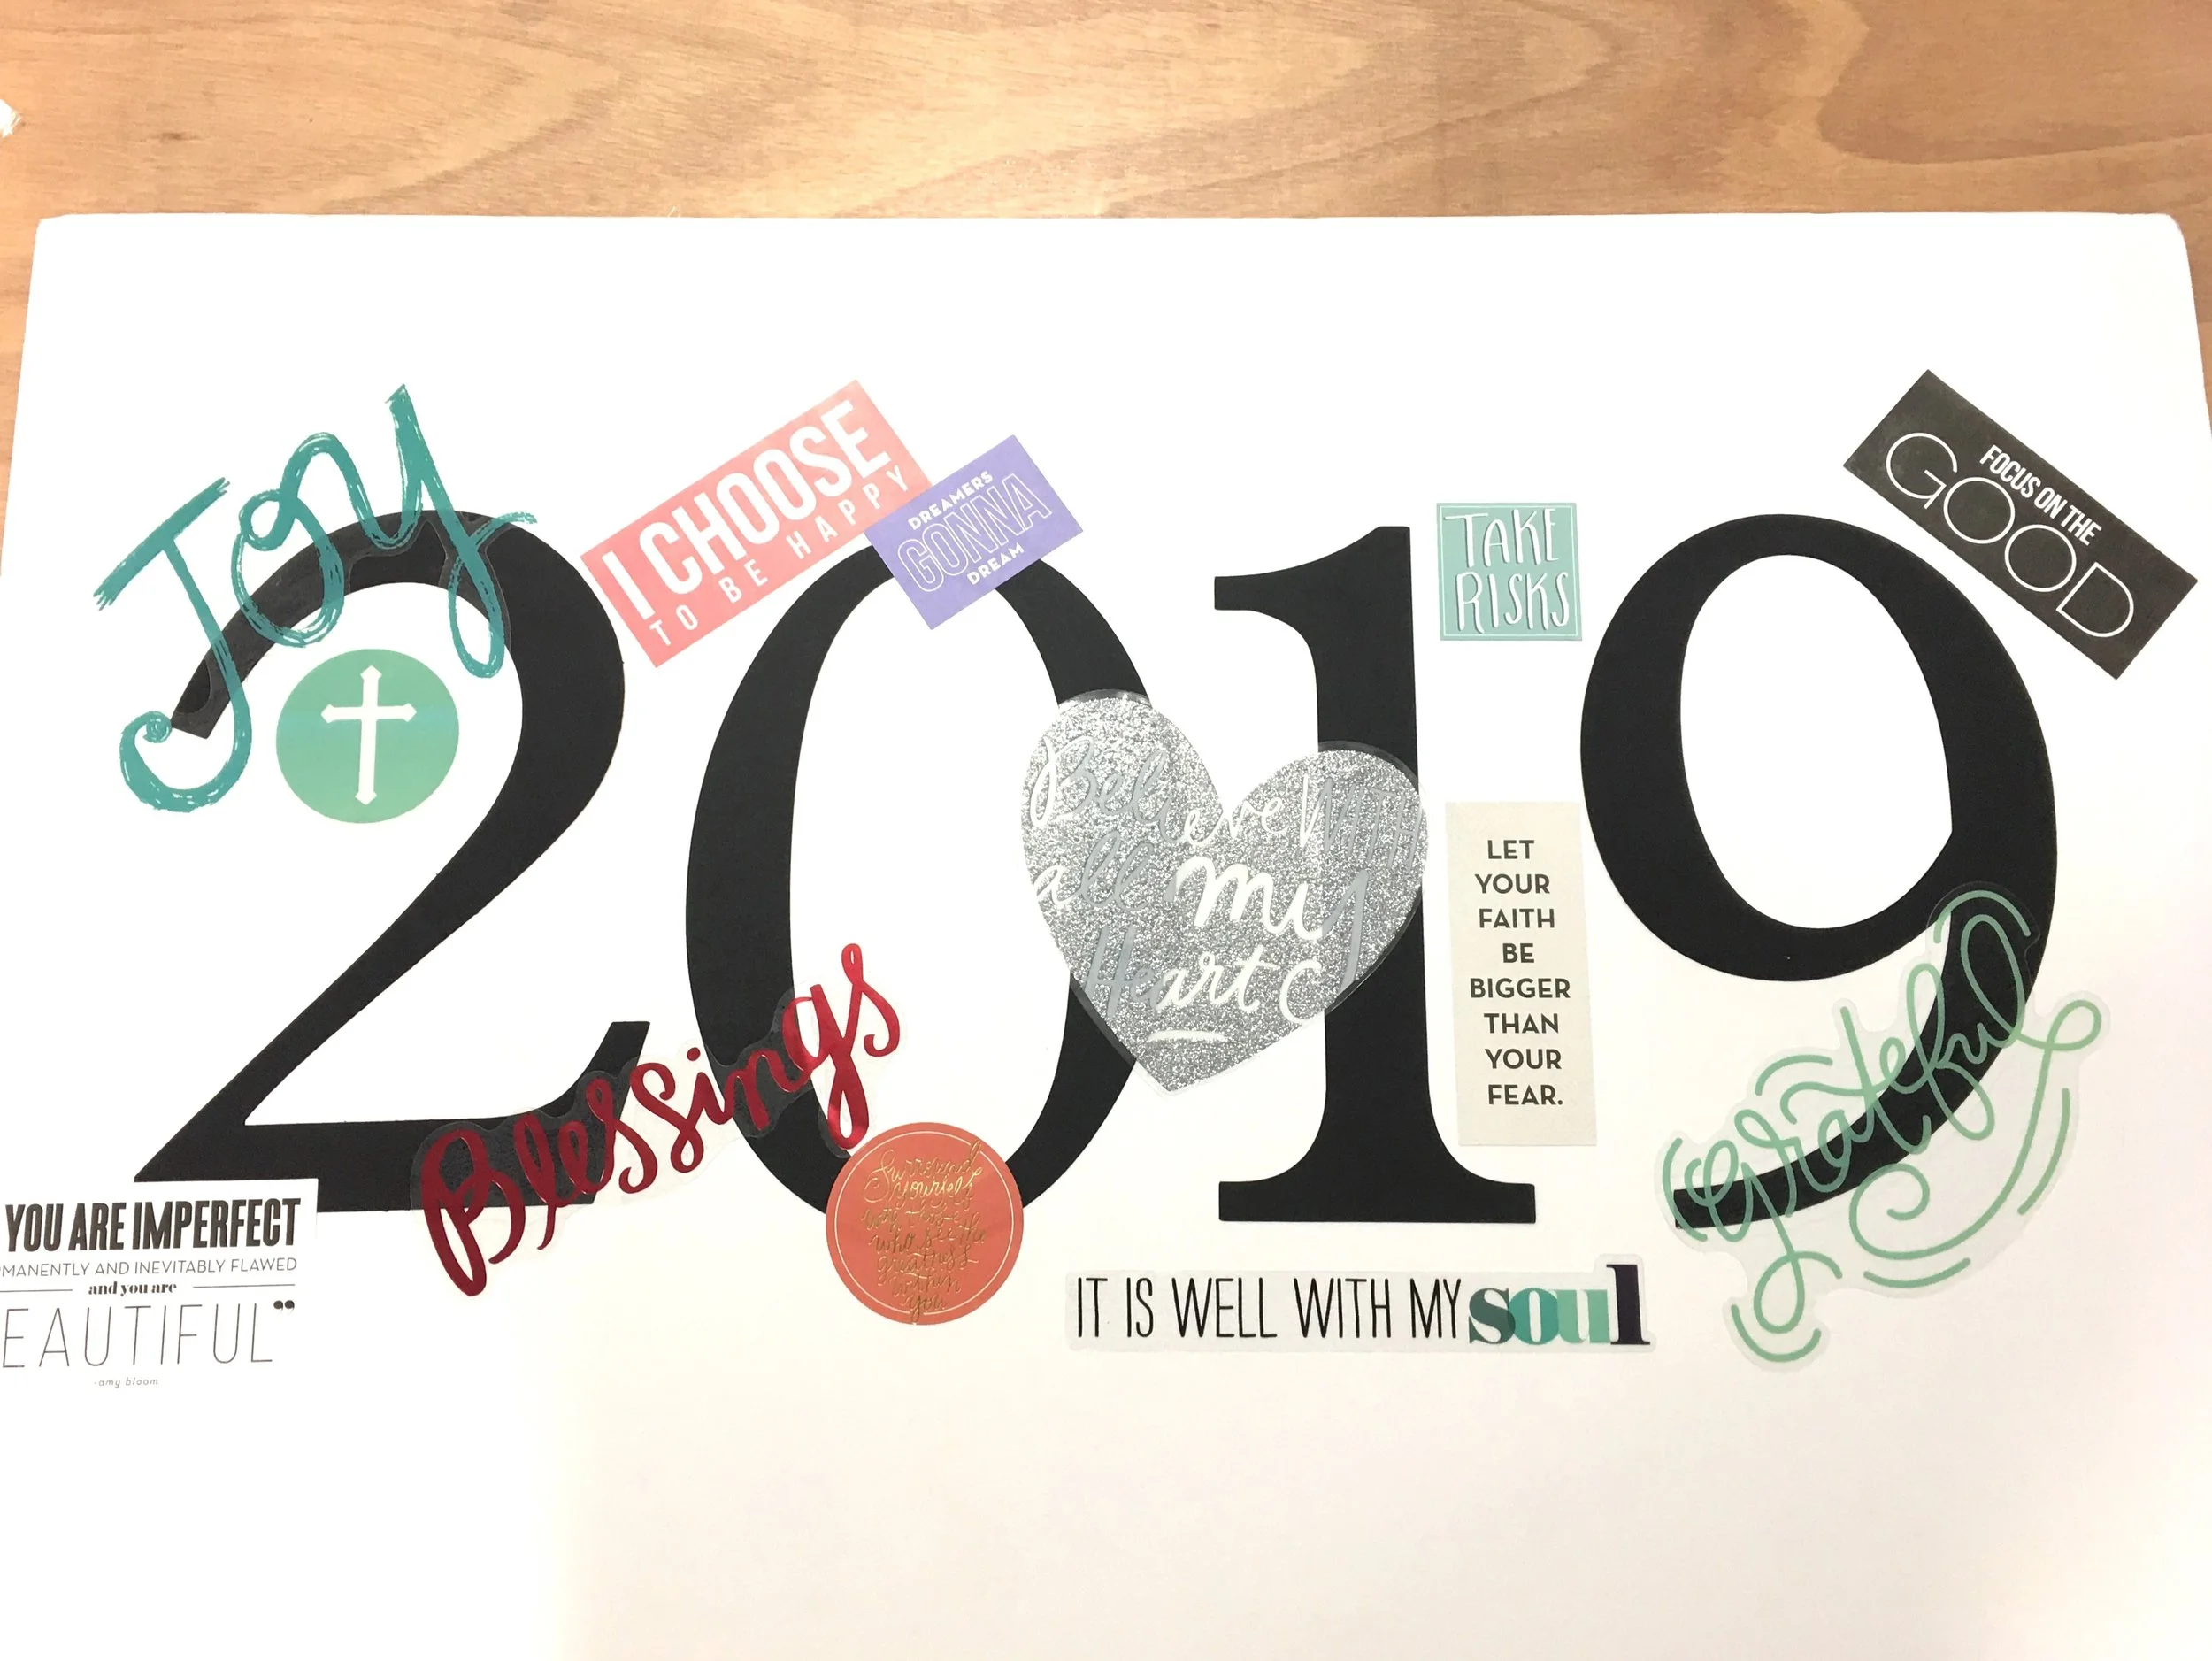
2. Instead of magazines, I picked up some MAMBI stickers from Michaels and layered them on my board over the 2019.

3. Next, I took yarn and connected each strand to the end of my board and secured them with brads and a few drops of glue on the back.
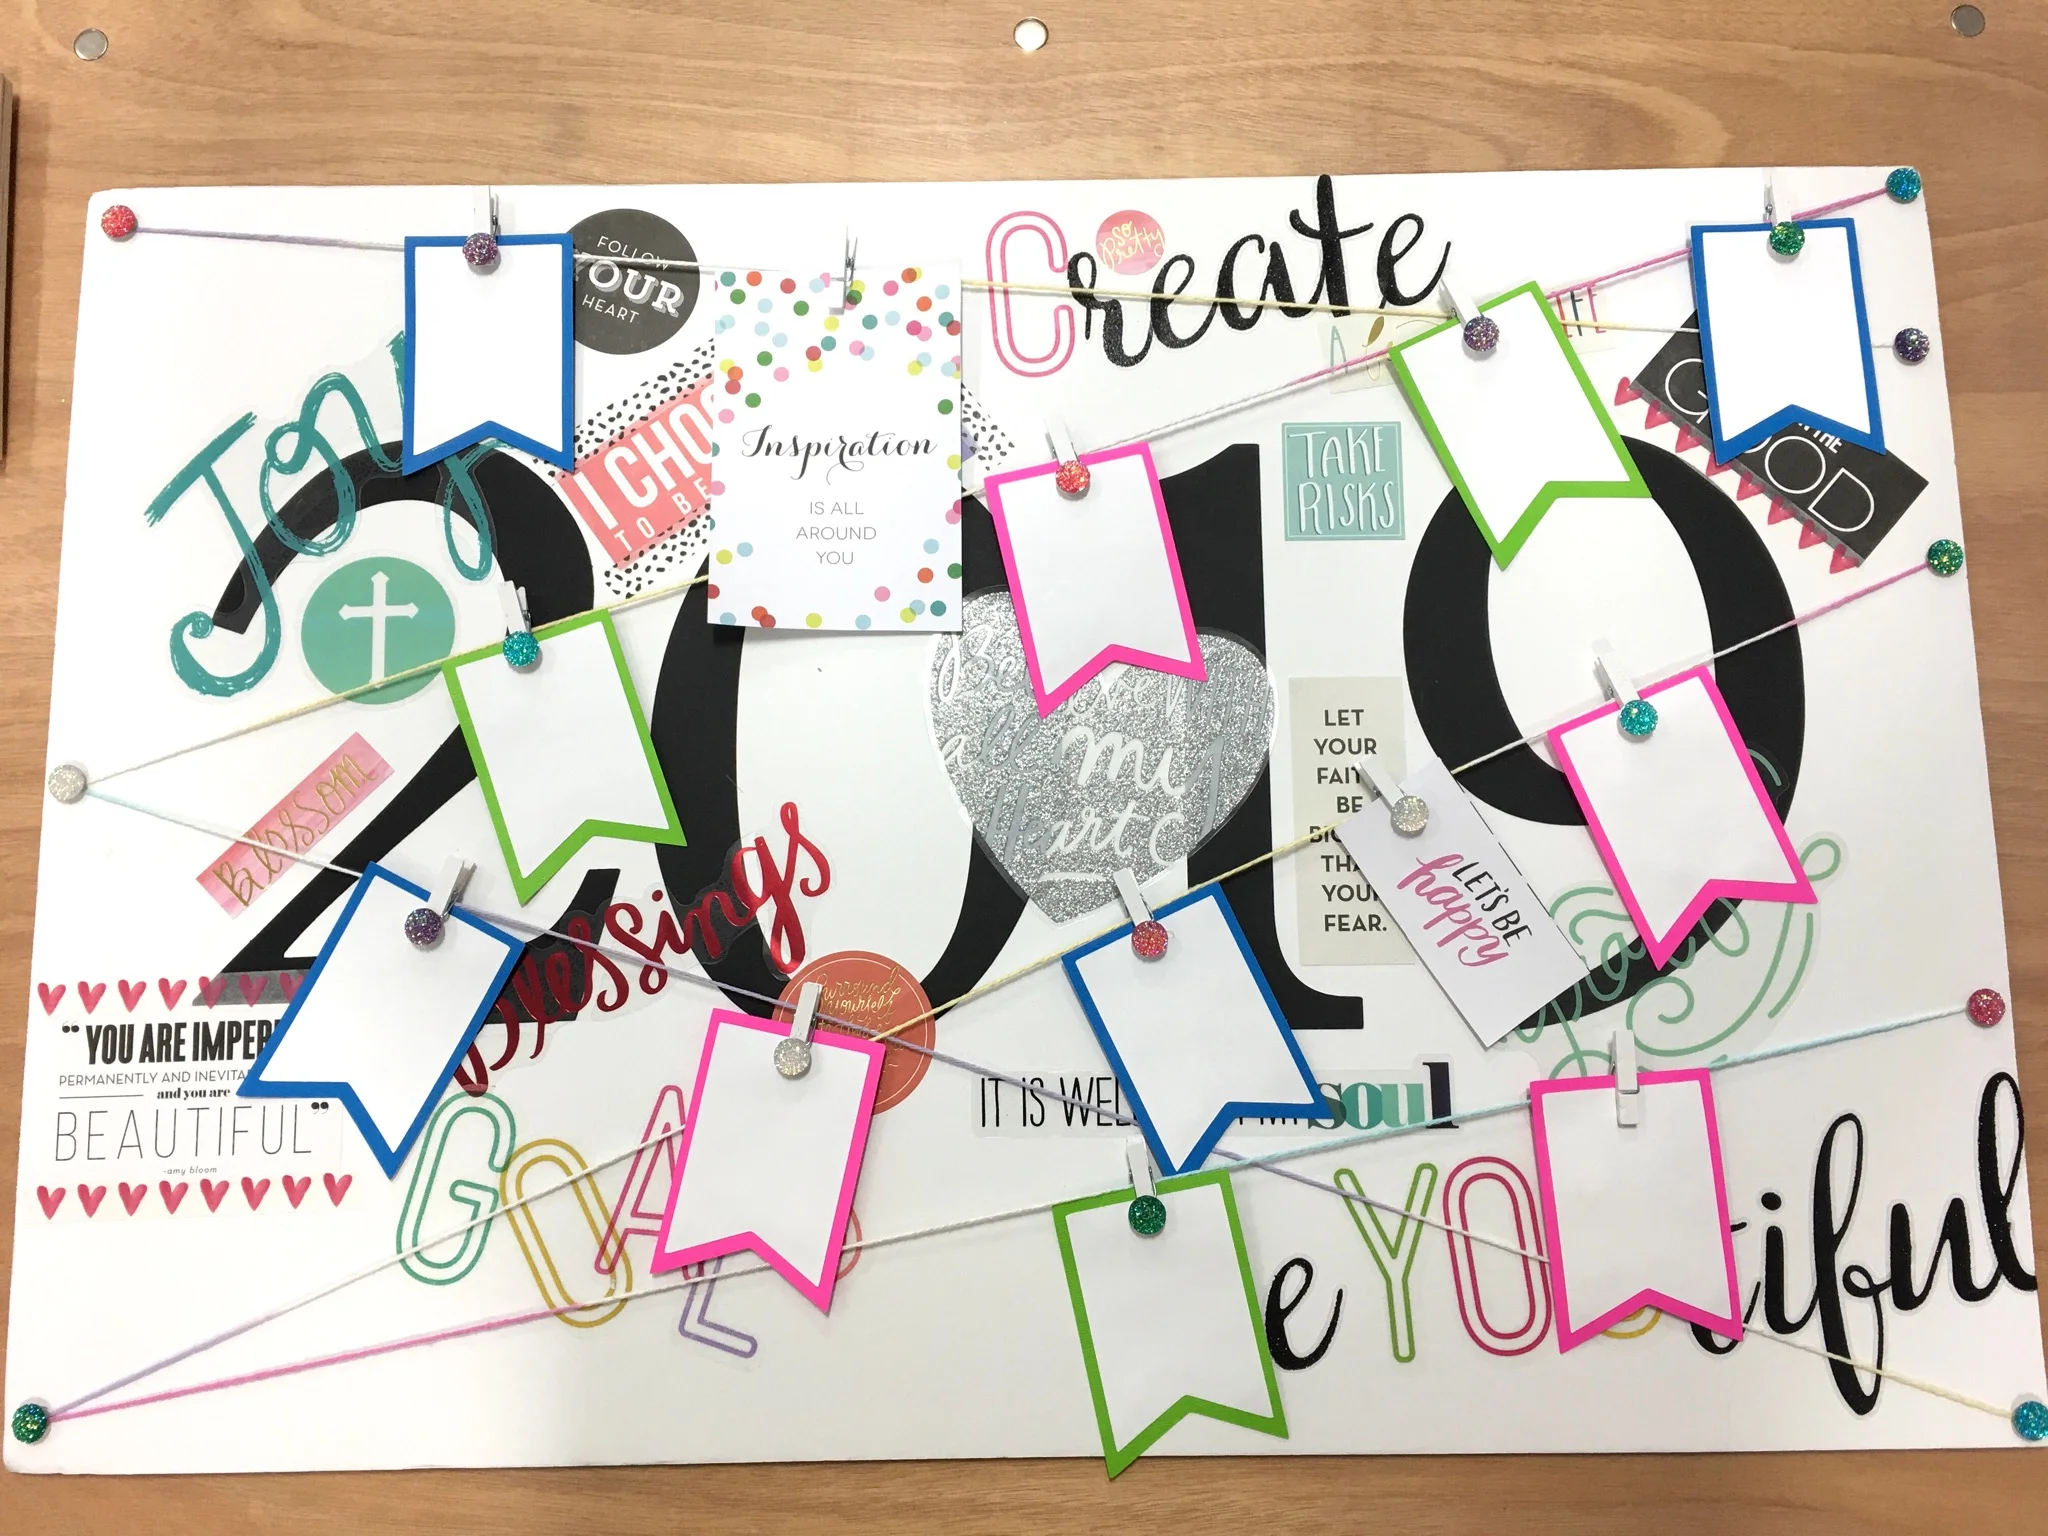
4. Finally, I added these tags that I made using my Cricut. I added each of them to my board with mini clothespins I ADDED SOME “BLING” to.
When you have completed your board keep it in a place where you can go and look over it every so often to see the goals that you have achieved.
DIY TIP: You have the option to frame your board or attach it to a cork board and hang it on your wall. For all of my fellow planners, take the time and make a mini version of a vision board and insert in your planner.
Be sure to tag #thediaryofbellerose and @thediaryofbellerose on Instagram to show how you’re creating your board for this year. I would absolutely love to shout your post out on my site.
LOVE, PEACE & BLESSINGS,